Use FooEvents with WooCommerce to host talleres y courses, collect attendee details, manage multi-date eventsy check in attendees on the day of the event. This guide shows setup steps, page placement tips, recurring-session options, and validation checks before launch.
Introducción
Workshops usually run on tight timelines. You need clear schedules, simple sign-ups, and accurate rosters. FooEvents plugs into WooCommerce so you can sell tickets (or bookings), capture attendee details, and run check-ins using tools you already know. We’ve created this straightforward guide that scales from a single class to a full training program.
Nota: This guide assumes you’re using classic checkout. If you’re testing WooCommerce Checkout Blocks, please confirm behavior on staging before switching.
What you’ll set up
- An event product for each workshop (single date) or a structure for recurring sessions.
- Ticket/booking forms placed where they will convert (landing pages, course hub).
- Attendee fields so you have what you need on the day (name, email, prerequisites).
- Design ticket themes and custom stationery (name tags, certificates).
- Optional: check-ins via the FooEvents Check-ins app or FooEvents Express Check-in plugin.
Step 1: Create the workshop product
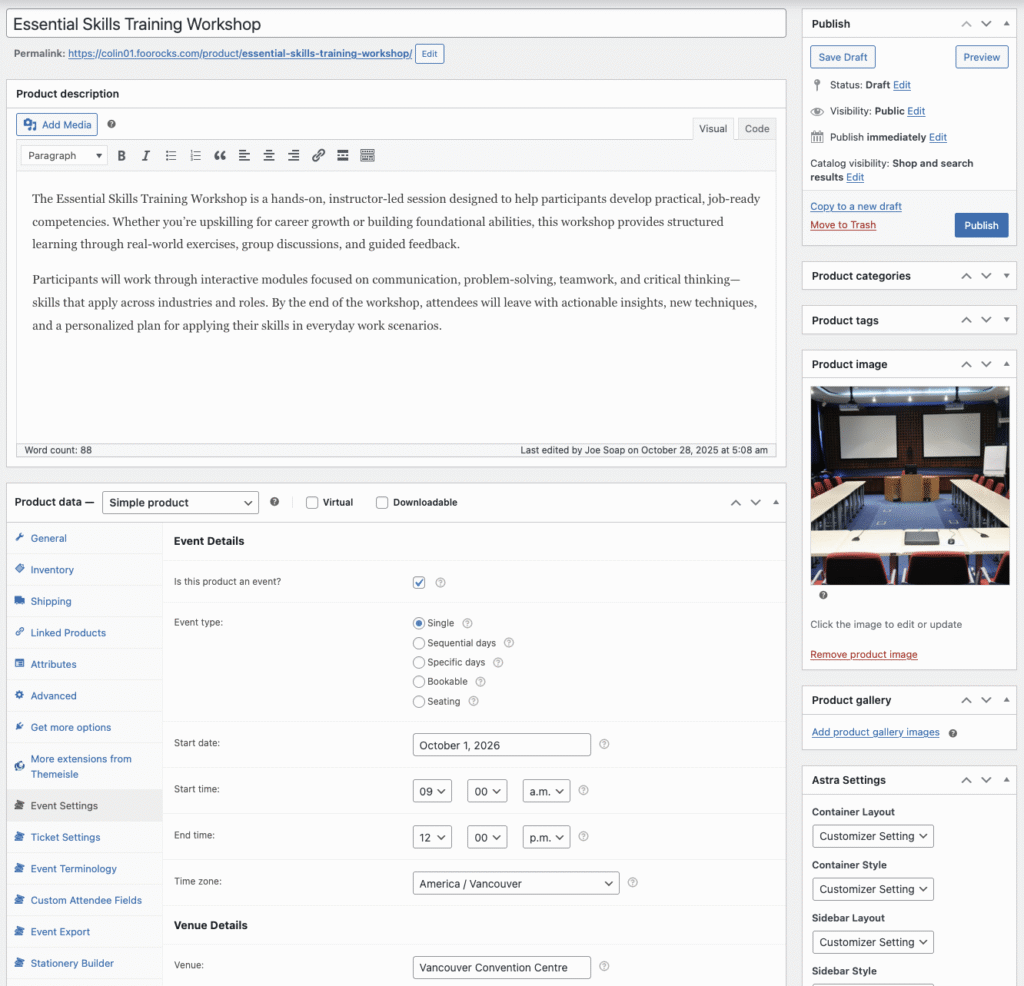
- Ir a Productos → Añadir nuevo and add your course title, description, and featured image.
- En Datos del producto, choose:
- Simple product for a single date/time, or
- Producto variable for tiers (Standard, VIP, Student) or multiple timeslots.
- Enable FooEvents by checking the box that says “¿Es este producto un acontecimiento?” in the Configuración de eventos panel.
- Seleccione Event type (hover over the tooltip next to each type for a full description) and complete all the relevant workshop information such as date/time, contact information y venue details.
Step 2: Add the attendee fields you actually use
Keep it lean—only ask for info that you actually need and will act on.
-
- En el Configuración de eventos panel, check the boxes of the standard attendee details that will be captured at checkout.
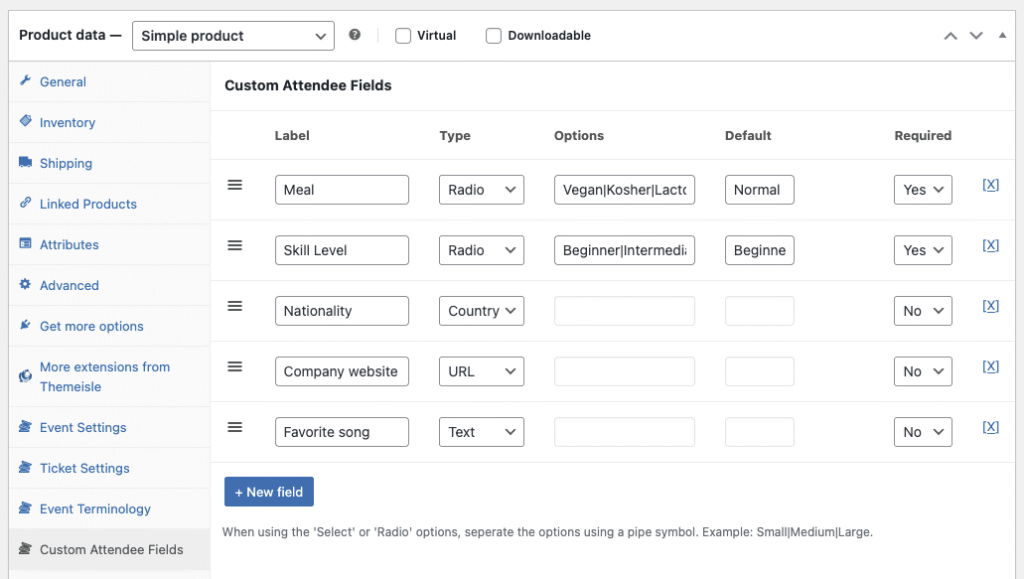
- Optionally, if your workshop requires additional fields such as "Company”, “Skill level” or “Necesidades alimentarias” you will need to install the FooEvents Plugin de campos personalizados para asistentes. Once this plugin is enabled, you will be able to create completely custom fields by clicking on the Campos personalizados para los asistentes panel and clicking the +New field botón.
- Don’t forget to save your progress!
👉 Attendees (Help)
👉 Custom attendee fields (Help)
Step 3: Support multiple dates or sessions
If your workshop repeats or has AM/PM tracks, you have a few different options:
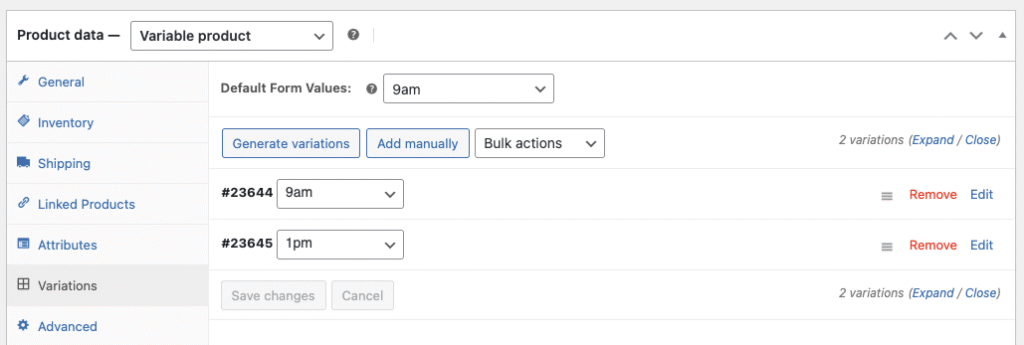
- Variations: For simple workshops you could create a Producto variable with an attribute like “Timeslot” (9am / 1pm) but for more flexibility, we recommend using the FooEvents Plugin de reservas which allows you to create date slots with start/end dates and default stock management.
- Multi-Day / Recurring: Utiliza el FooEvents Multi-Day plugin o FooEvents Plugin de reservas to add a series of dates and manage capacity per date.
- Landing page per cohort: Create one page per workshop or session and embed a custom ticket/booking form on each page.
👉 Multi-day events (Help)
👉 Product variations (Help)
👉 FooEvents Bookings (Help)
Step 4: Place forms where they will convert
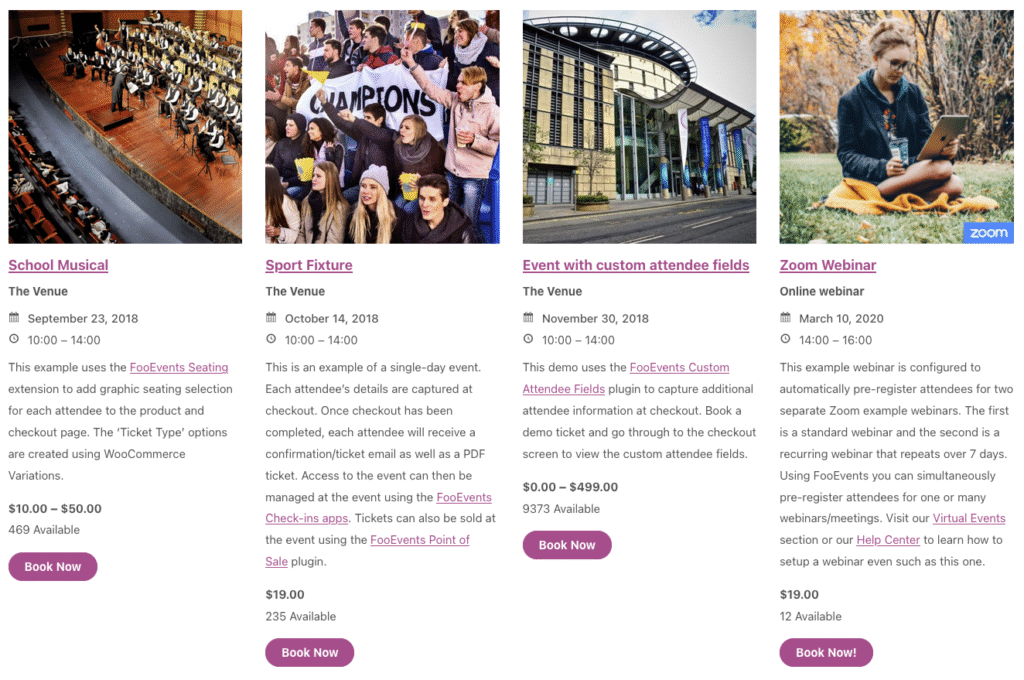
- Create a “Workshops” hub page with the calendar on top and featured classes below.
- For ads or email campaigns, link to a focused landing page that uses a shortcode such as
[fooevents_events_list]o[fooevents_event product=23270](replace 23270 with the actual product ID of your event).
Step 5: Payments, emails, and confirmations
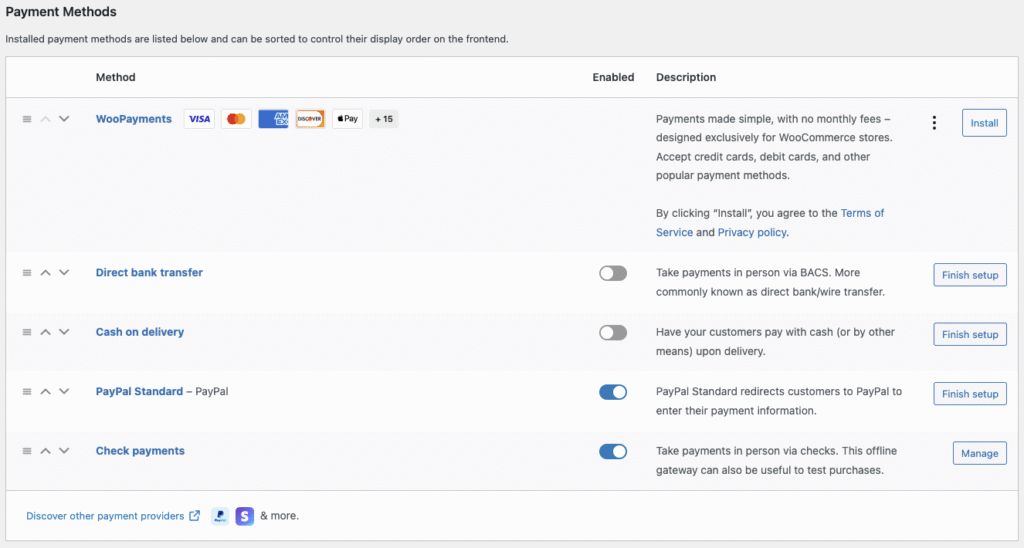
- Enable gateways in WooCommerce → Ajustes → Pagos and run a live test.
- Customize ticket emails (logo, support info, schedule recap etc) or create your own custom ticket theme.
- For recurring programs, include ICS links for calendar invites or a link back to the cohort page.
- Create name tags and other customized material such as certificates using the FooEvents Stationery Builder.
👉 WooCommerce payment settings (Help)
👉 Ticket configuration help document (Help)
👉 Custom ticket themes (Help)
👉 FooEvents Stationery Builder (Help)
Step 6: Check-ins on the day
Utiliza el FooEvents Check-ins App on your mobile device or FooEvents Facturación exprés plugin on a computer to scan unique ticket barcodes codes or manually look up attendees.
- Set up staff logins ahead of time.
- Do a dry run with one test ticket on a real device.
👉 Aplicación FooEvents Check-ins
👉 FooEvents Facturación exprés
Step 7: After the workshop—use your data
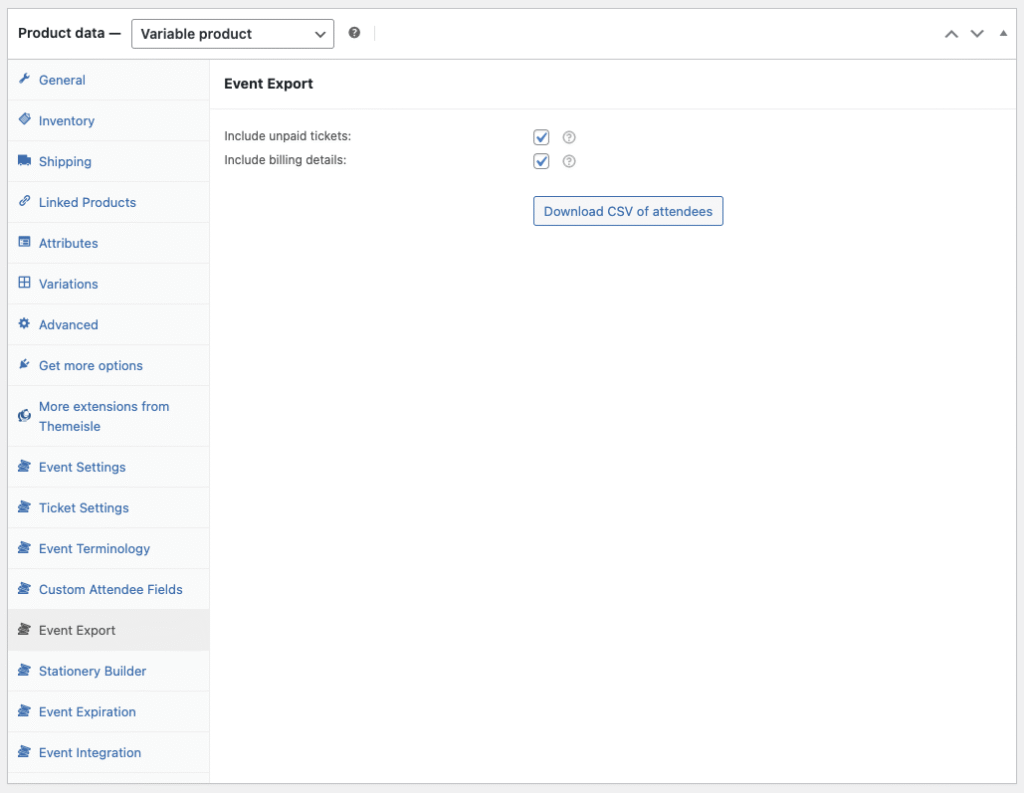
- Export attendees to your preferred CRM in order to follow up with slides, recordings, certificates or a feedback form.
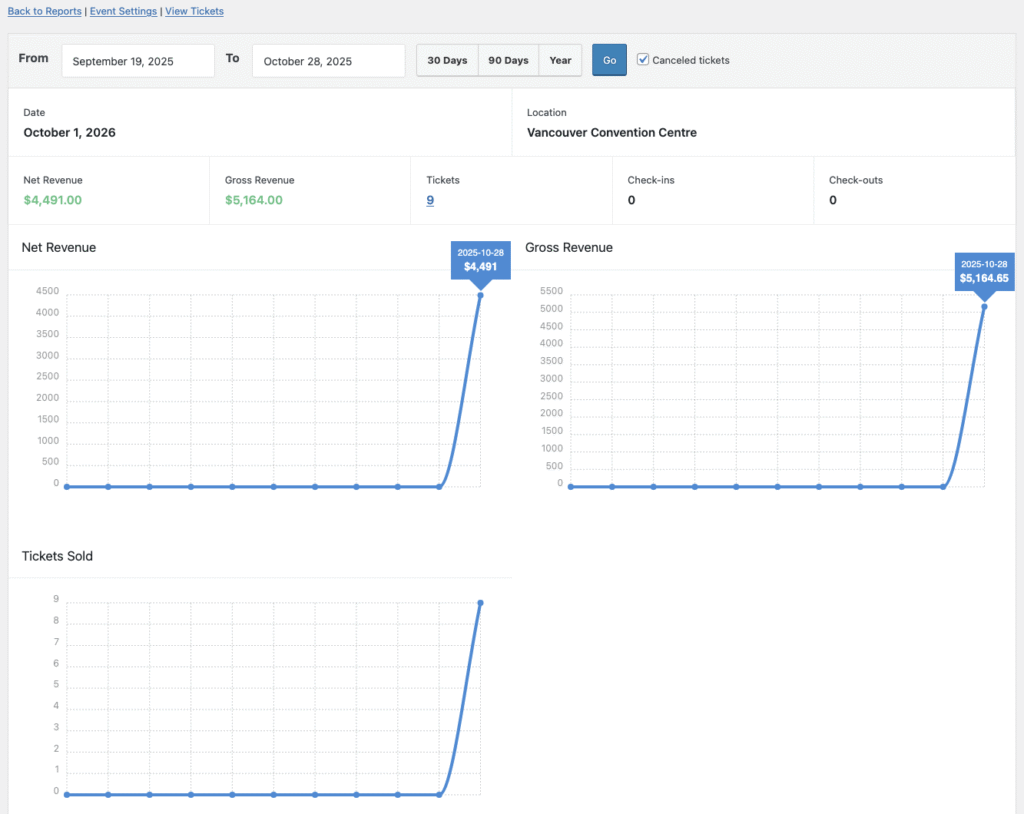
- Review orders by timeslot/tier to inform future scheduling and pricing.
- Duplicate the product for the next cohort and update event details.
👉 Export event and attendee information (Help)
👉 Event reports (Help)
Solución de problemas
- Form shows but won’t add to cart? Check stock and dates.
- Wrong timeslot in the email? Confirm the selected variation’s name.
- Shortcodes don’t render? Ensure that the shortcode is correct and use the Shortcode block in the Block Editor.
Nota: Themes with heavy product templates may hide the variation selector on small screens so test on mobile too.
Conclusión
You don’t need a full LMS to run training. With FooEvents and WooCommerce, you can sell workshops, handle repeating sessions, collect the right data, and check in attendees with confidence. Start with one class, validate the flow, then scale to a full program.
👉 Más información sobre FooEvents
PREGUNTAS FRECUENTES
Can I limit seats per session?
Yes, use per-variation stock or Multi-Day stock management.
Can I issue certificates?
Yes, capture the attendee’s name and export data for your certificate workflow.
Can I mix paid and free seats?
Yes, create a $0 variation (limited quantity) alongside paid tiers if appropriate.
